A phrase & method that has been in circulation for some time in the detailing & car care trade, adopted by many and seen as a necessity by most. In this guide, we aim to explain in detail the meaning of the phrase, what negative and positive effects using the method may have and finally how to carry out the two bucket method effectively.
1. The meaning
Two bucket method, firstly it comes quite naturally to suspect that the method includes ‘two buckets’ which it does, now you did not need to come all the way to our site to work that out. However, the method is not entirely focusing on the flash status of using two buckets rather than just one. So, on to the method to hopefully enlighten you as to why so many detailers feel the need to adopt the two-bucket method.
2. The method
The idea behind using two buckets over just a single bucket to carry out a wash on your vehicle is simply to try and eliminate or drastically reduce the possibility of damaging the vehicles delicate painted surface. This is achieved by using a second bucket filled with clean water to swill the wash mitt in before placing it back in the original bucket to re apply your wash media and carry on with the procedure. Using this method is proven to reduce the possibility of inducing ‘marring’ whilst contacting the surface. So, moving on we will explain how to carry out this method.
3. The process
Above we have established the method includes two buckets so let us elaborate on exactly how the process work.
Firstly, to adopt the two bucket method we would need the following equipment:
• The two buckets (15 - 20l capacity)
• A clean water supply
• Wash media (shampoo)
• A clean wash mitt or detailers sponge (not a regular yellow foam sponge)
• A ‘grit guard’ or even two! (many would see this as essential but in truth it is not if the method is performed correctly, this is personal preference to a degree)
Surface Preparation
Initially, as with any wash it would be seen as good practice to carry out a full pre wash first and foremost, ensuring to remove as much debris and road grim as possible without making any contact with the surface what so ever. We do not suggest the use of detailing brushes on intricate areas in the pre wash wash stage, if these areas are anywhere near the painted surface or even delicate plastic & metal surfaces you could run the risk of marking the surface.
A thorough two Bucket method tutorial aimed to help you carry out a safe wash in your detailing routine.
Equipment Preparation
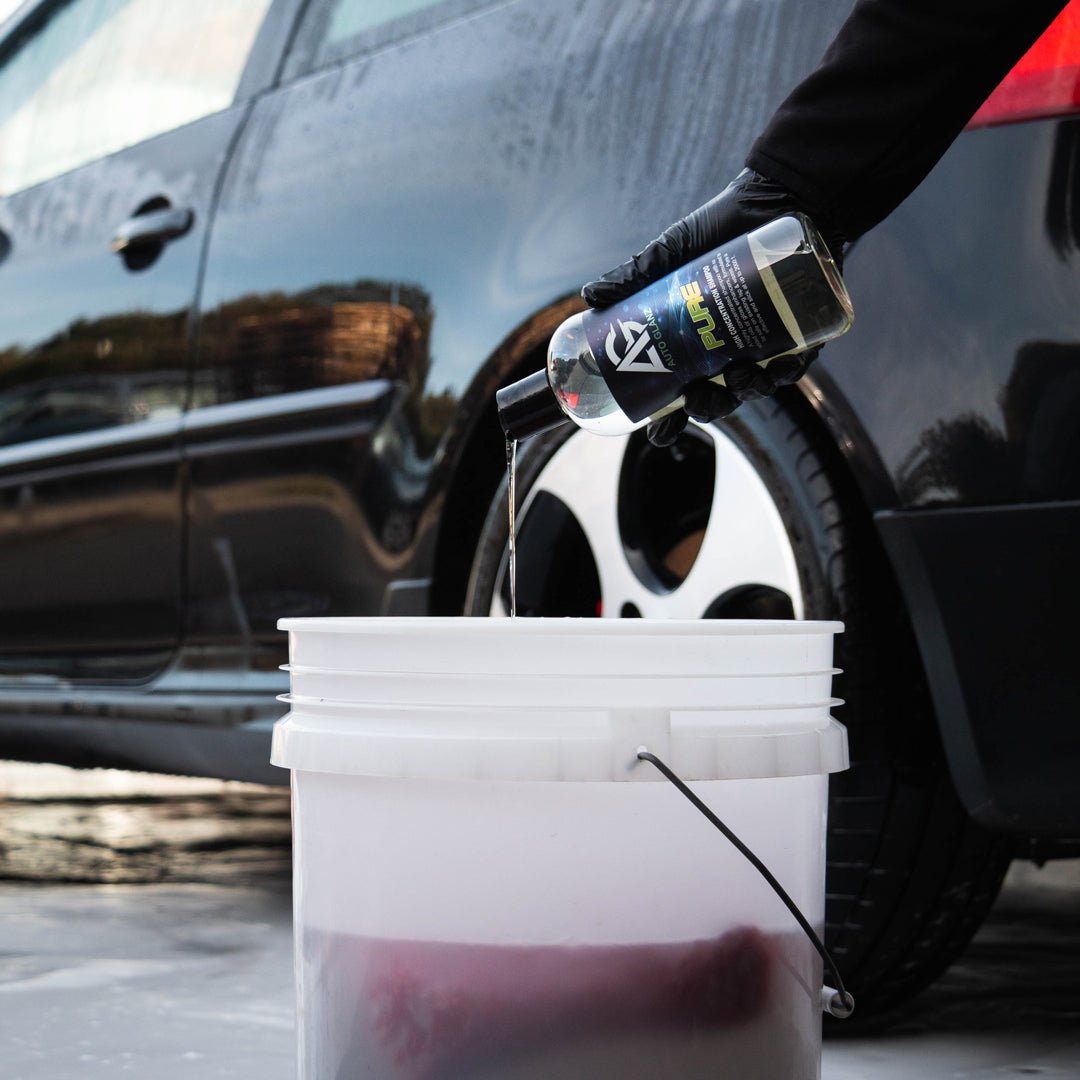
Now we have a nice pre washed surface it’s time to prepare our equipment. Firstly, take both buckets, fill one all the way to the top and one a little over ¾ full. Now place your ‘grit guards’ in both buckets, if only using one we would suggest adding this to the bucket that is full to the brim. Now, take the bucket that is ¾ full and add your desired shampoo, you may also like to add a little shampoo to your wash mitt to aid lubrication and then pop this into the same bucket, this will be your wash bucket. The bucket that is already full to the brim will be your ‘rinse’ bucket. (do not add shampoo to this bucket)
The fun part
Finally now you get to contact the surface and wash your vehicle.
Step 1 - Reach into your foamy ‘wash’ bucket and grab the wash mitt.
Step 2 - Now transfer this to the highest panel on the vehicle (the roof 95% of the time) and proceed to gently wash the panel, if any stubborn staining is present do not be tempted to apply more pressure, these areas simply need a little longer to soak or a simple spray of a bug and grime remover to soften the staining. We suggest only washing around ¼ of a large panel and ½ a smaller panel before moving onto the next stage. Once you have washed your first ¼ panel you need to rinse the wash mitt and then reapply some shampoo solution
Step 3 - To re-apply the shampoo solution simply transfer your wash mitt to the ‘rinse’ bucket (the one with no shampoo in) and submerge the mitt no more than half way down the bucket giving it a good shake once submerged. This method is aimed to remove any contamination that may have been collected off the panel and helps to eliminate the risk of transferring the contamination to other areas of the vehicle and scratching the surface. Soiling and particles that were on your mitt should now fall to the bottom of the rinse bucket, the idea is that they will stay there (under the grit guard) and not be transfered into your clean 'wash bucket' full of shampoo solution.
Step 4 - Once you have rinsed the mitt in the ‘rinse bucket’ simply transfer the wash mitt to the ‘wash bucket’ and then repeat until the wash is complete.
Note
You should always be working from top down, the top of the vehicle will be some what cleaner than the bottom so you need to be cautious not to drag all the dirt from the bottom end up. Wash your roof and upper panels first like the bonnet, glass and pillars. Then the tops of the doors followed by the wings and front bumper and then the rear of the car and finally the bottom half and finish off with the wheel arches.
The finale
Simply stand back and enjoy your work knowing you have successfully washed your vehicle without causing any damage to the delicate painted finish. Ensure to store your wash mitt in a dust free area so that it does not become contaminated and is ready to go next time when you need it most.